
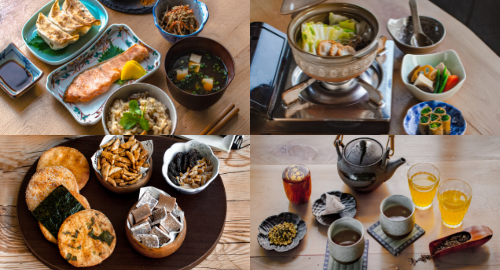


Whether for a quick snack or a consistent refill at parties, crackers can be an underrated essential in most kitchen pantries. While there’s no end in sight to the average supermarket inventory of crackers, there’s nothing like making and baking your own crackers. Not only can you incorporate your own toppings and styles, but you have absolute control over the ingredients inside.
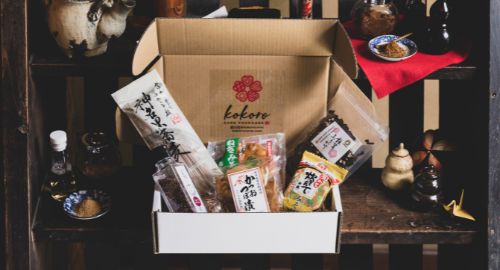
Our freestyle cracker recipe has only 5 key ingredients, four of which are already in your pantry. The fifth ingredient is okara powder, which you can find in our Baking: “Amai” Care package.
What is okara?
When making soy milk or tofu, soybeans are mashed and pressed out, leaving a pulp called okara. Okara is usually repackaged fresh and sold at low prices in the tofu section of Japanese supermarkets. For longer shelf life, it’s also dehydrated into powder. Okara is not only packed with protein, but also dietary fiber and calcium, making it an extremely nutritious, plant-based product. Okara is good for ensuring that your baked goods, whether it be cake, crackers, breads, or crusts, all contain a complete protein.
These freestyle okara crackers come together easily and allow for you to make them your own. Play around with different cookie cutters and toppings to add your own personal spin!
Servings: About 24 5cm sized crackers
Ingredients
- 120ml water
- 40g okara (soybean pulp) powder
- 150g all purpose flour
- 1 tsp salt
- 2 tbsp olive oil
- Toppings (optional as desired): Examples may include flaky sea salt, dried herbs, sesame seeds, hard cheeses, chili powder.
Instructions
- Rehydrate the okara: In a small saucepan, bring the water to a slight boil. Turn off the heat, add okara powder, and stir into a cohesive paste. Transfer to a small plate to let cool for about 20 minutes, or until it's warm but able to be handled.
- In a bowl add the flour and salt, and stir to combine. Add the warm okara and begin to knead with your hands. After a few minutes, and once the dough is shaggy, add the olive oil one tablespoon at a time. Knead until you have a smooth ball of dough. If the dough becomes tough, set it aside to relax the gluten for about five minutes, and then begin again.
- Flatten the smooth ball of dough into a disc and let chill in the refrigerator for 15 minutes.
- Remove from the refrigerator roll out between two sheets of parchment paper until about 6mm (a quarter inch) thick. Remove the top sheet of parchment, brush lightly with olive oil. Sprinkle your toppings, and put back the parchment. Roll out again to about 3 mm (or an eighth of an inch) thick, pressing the toppings into the dough along the way.
- Use a cookie cutter to make fun shapes and transfer them to a lined baking sheet 1 cm or half an inch apart.
- Poke each cracker with a fork to prevent puffing.
- Bake your crackers at 180°C/350°F for 20 minutes.
- Turn off the oven. Keep the crackers in the closed oven for another 5-10 minutes, undisturbed. Final results should be crispy and golden brown.
- Let crackers cool completely before enjoying them alongside your favorite dip. Store in an airtight container in a cool, dry place for up to a week.
Recipe available in our Baking: "Amai" Care Package

About the recipe creator and photographer: Yaz Gentry is a freelance recipe developer and food-lover based in Tokyo, Japan. Half-Japanese and half-American, she enjoys fusing together seasonal ingredients and dishes from both cultures as a reflection of her mixed heritage. You can follow her culinary adventures at www.meshibliss.com and @


Leave a comment (all fields required)